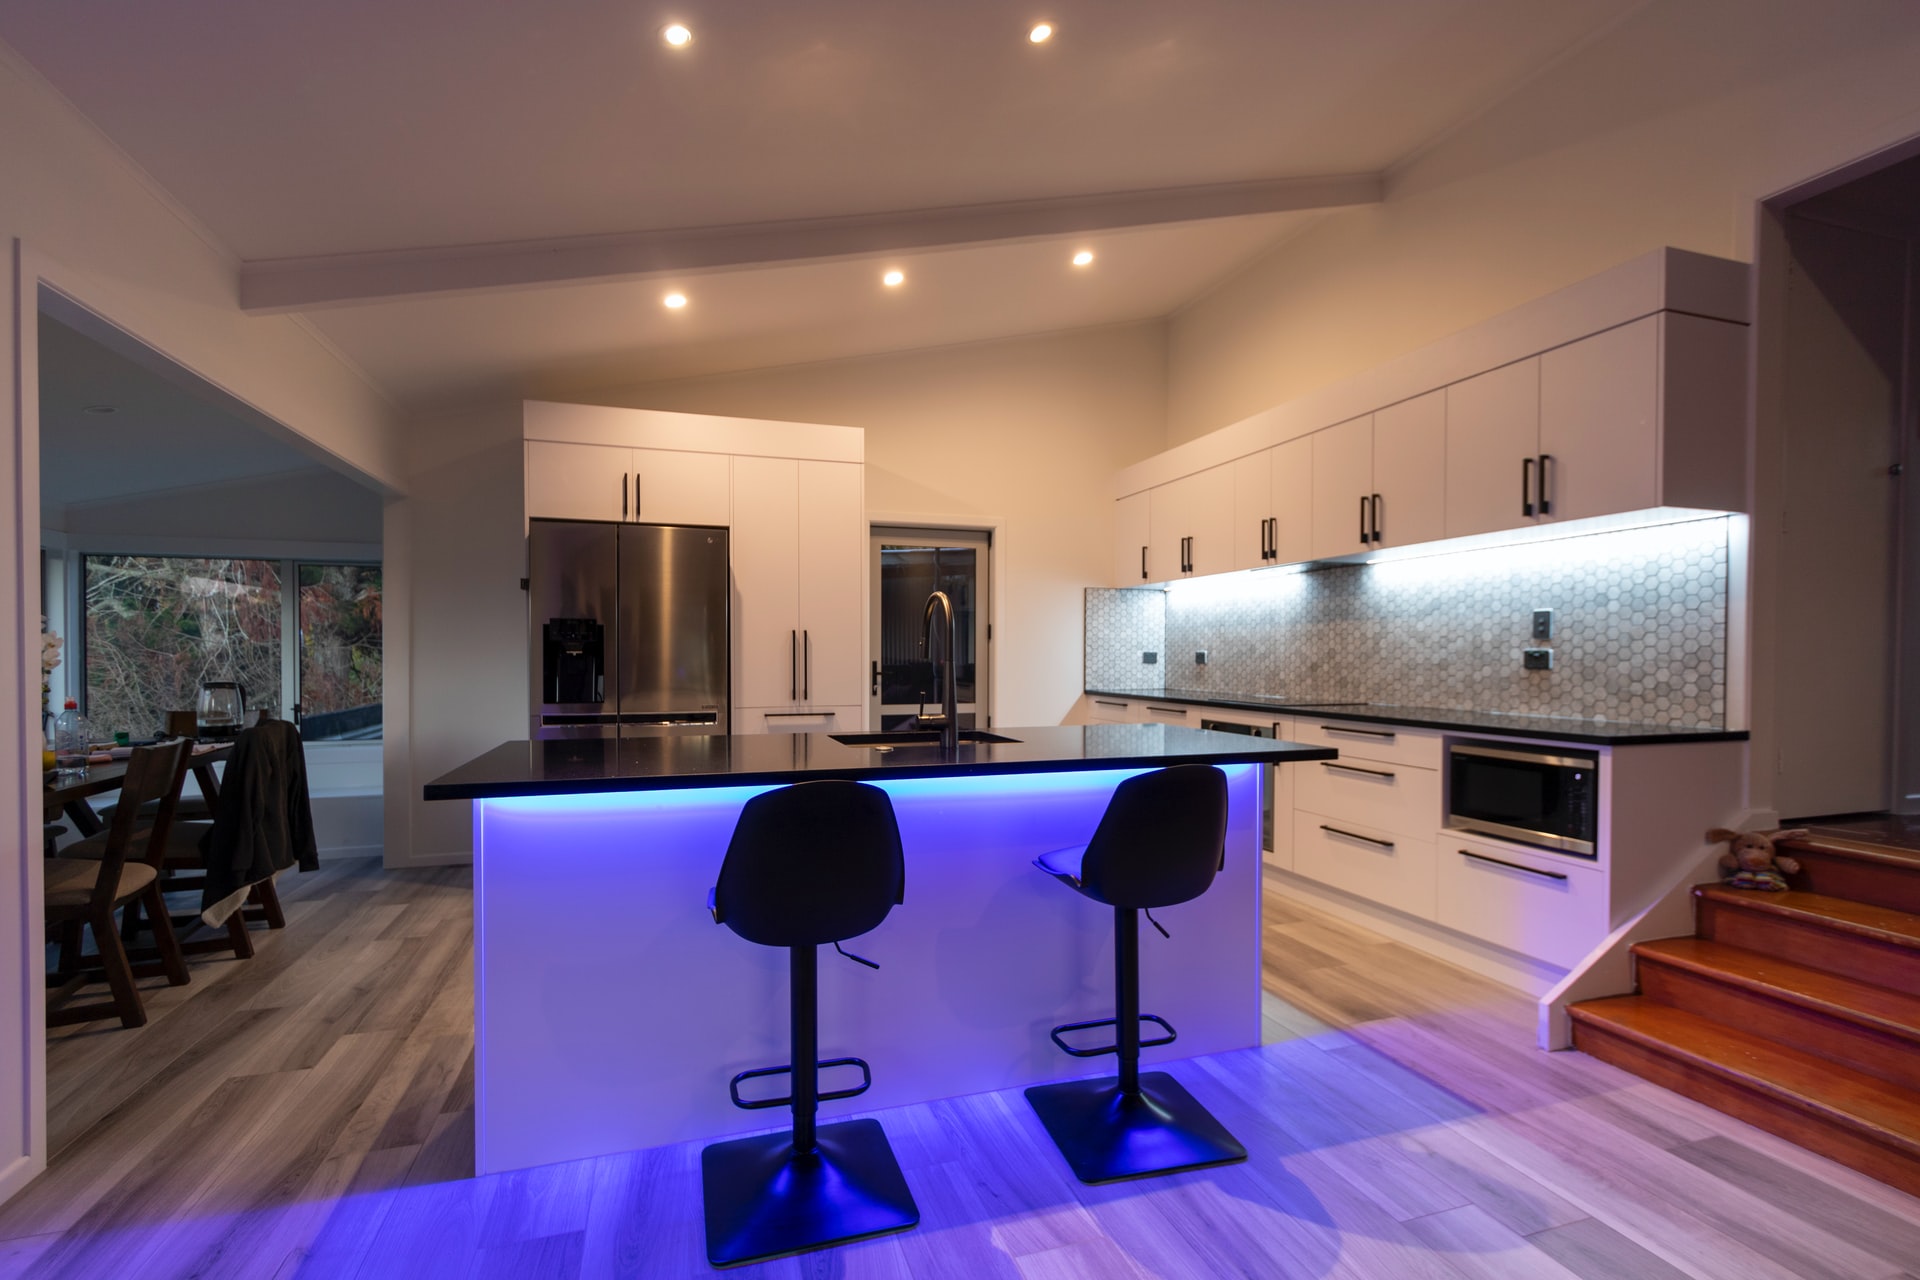
LED light strips are quickly becoming a favorite among homeowners. With their brilliant colors, flexibility, and versatility, LED light strips are just what you need to let your imagination wander and bring your unique personality to life as you’re decorating your home.
Offering an average of 50,000 hours of light, your LED light strips last very long, but what should you do if you decide to move homes or if simply get bored with your current LED decoration and wish to freshen it up a bit?
Certainly not throwing away perfectly functioning LED light strips!
In this article, we’ll walk you through the steps to remove and reuse your LED light strips to get the best value for your bucks.
How to Reuse LED Light Strips
Once you’ve decided to replace your LED light strips, here are the steps you need to follow to remove and reinstall them safely.
1. Disconnect Your LEDs From the Electricity Source
Even though most LED strips are low voltage (~12 V), they’re usually plugged into a 120V high voltage power outlet.
That being said, make sure to disconnect the LED strips from the power outlet before you start working on them for your safety.
Ask someone to help direct a torch towards your working area to help you see better as you’re trying to remove your LEDs.
2. Heat the Glue Keeping the LED Strips Up
LED strips come with strong adhesive glue on their backside to ensure that they stay up for long periods of time. So you should expect that they just won’t come off easily.
You want to avoid removing the strips forcefully as this would risk damaging both your wall paint and the LED strips, and we don’t want that.
Apply heat directly to the adhesive to soften it a bit. A hair blow dryer set to low or medium heat is perfect for this. Do not use high temperatures as this can damage your LED strips.
Once you find that the strips are beginning to come off, find a corner that’s easily accessible and move on to the next step.
3. Separate the LED Strips From the Wall
To do this, you’ll need a thin, blunt-edged object that you can introduce between the adhesive tape and the wall. A butter knife, card, or coin work perfectly for this job.
Introduce the thin object between the adhesive and the wall, and then gently push it further to separate the LED strips.
You might notice some difficulty prying the strips away. This would mean that the adhesive has hardened again. In this case, ask someone to hold the blow dryer onto the adhesive to keep it soft as you work your way between the strips and the wall.
4. Get Rid of Any Leftover Glue on the Wall
After removing the LED light strips, you might notice some residual pieces of glue. Don’t worry; you haven’t damaged your paint.
You can try removing those residual pieces with your fingers, but if that doesn’t work, get some rubbing alcohol and a cloth and clean the area. It’ll be good as new.
Make a note to clean the back of the LED strips as well if the adhesive tape no longer sticks and you’re planning to put a new strip of tape on them.
5. Re-Install the LED Strips
Removed your LED strips and you’re ready to reuse them? Here’s what you need to do:
Pick a Spot
Pick the new spot where you’ll put up your LED lights. Just make sure that, in the new spot, the LED lights won’t be at high temperatures.
Your LED light strips can be kept in temperatures up to 35℃, but higher temperatures can risk burning up your strips.
Plan the Length You Need
Plan the desired LED strip length for the new position. If your LED strip can be cut to adjust its length, you’ll find scissor signs at specific places where you can cut them.
Make sure to cut directly on the scissor sign to avoid damaging your LED strips. Please note that once you cut the length of the strip you won’t be able to use it again, so plan accordingly.
Apply the Adhesive Glue or Tape
First, carefully clean the surface you’ll be sticking the strips on. Next, apply the new adhesive to the back of the strips and hang them up in the desired arrangement.
You can use specific adhesives designed for hanging up LED strips or buy double-sided tape for the job. Just make sure to check that the tape you purchase can withstand heat.
Avoid using super glue for the job. It risks damaging your wall and the LED strips.
Plug Your LED Strips
Lastly, re-plug your LED light strips into their new place.
You might remember the process from when you first installed them, but we’ll walk you through the process again just in case.
Here’s a list of all the equipment you’d need
- Sauterless clamps
- Low voltage cable
- Light controller
- Power adapter
- Wire stripper
- Flathead screwdriver
Put the end of the LED strips into the short end of the sauterless clamp and the wires into the other end. Make sure that the colors of the wires match the place you’re putting them in.
From there, strip the other side of the wires so they better connect when you put them into the controller. Finally, plug the light controller into the power adaptor.
And voila, lights!
To Conclude
We’re all in love with the LED light strips. They’re easy to install, have a long lifespan, and can twist and turn to form all the amazing designs that we want.
Now that you’ve gone through our guide on how to re-use LED strips, you won’t have to kiss your favorite LED strips goodbye just yet. And you won’t have to keep up with any outdated designs in your home.
Good luck and happy re-decorating.

