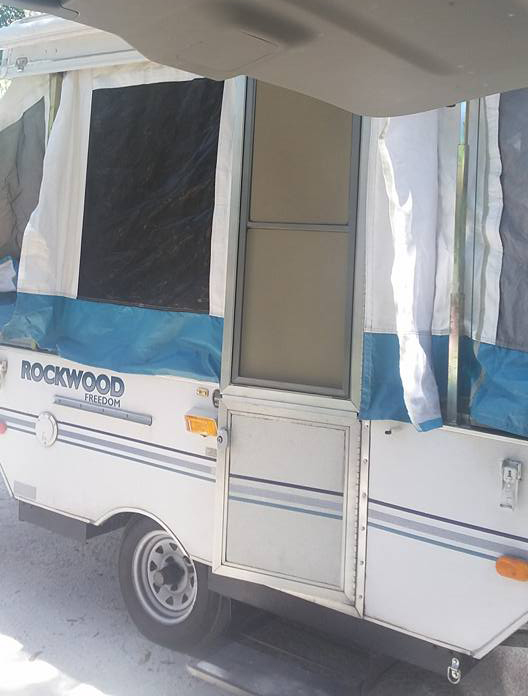
Providing a tent-like camping experience without the hassle of sleeping on harrowingly rugged grounds, pop-ups have become the most favored recreational vehicles for outdoor camping. In terms of cost, these vehicles are terrifically wallet-friendly, so they’re cheaper to insure. Further, they’re also much easier to store and haul than a traditional RV like a camper trailer.
Like all recreational vehicles, however, pop-ups have their fair share of positives and negatives, and one of the most notable negatives is the occasional malfunction of the lift mechanism that’s responsible for extending and shrinking the top. If you’re having a hard time getting your pop-up camper down, this article will walk you step by step through the process, so read on.
Preparing Your Pop-Up Camper
Step 1
Before you begin closing your pop-up camper, you must first make sure that all of your windows are zipped up. Next, if your pop-up camper has any cushioned benches, make sure you remove these cushions or lay them flat on their benches. This is crucial because the beds won’t be able to slide inwards properly once the camper goes down if the cushions are in the way.
Step 2
Thereafter, you’re required to remove the door to your pop-up camper. Even though this step is a little aggravating, removing the door is a lot easier than putting it back in its place, with all the velcro that’s involved. If you have any curtains near the door, make sure they’re completely out of the way before attempting to remove the door so that they’re not obstructing in any way.
Attempting to remove the door while it’s open is fairly challenging, so it’s better for you to close the door before trying to remove it. Having closed the door, start to unvelcro it on the sides. It’s highly likely that the door to your pop-up camper is connected to two tracks on the ceiling. If so, guide it all the way back along the tracks, lift it up, and clamp it to the ceiling via button snaps.
Step 3
After putting the door in place, the next thing you need to do is bring your sink down. Now, you have to keep in mind that different pop-up campers adopt different methods of working the sink. With some campers, all you have to do is pull a handle and the sink comes down automatically, whereas, with other models, you’re required to drag a few bars in order for the sink to go down.
You’re more familiar with your pop-up camper than we are, so make sure you put the sink down properly. If you’ve just gotten the vehicle and have no clue how to put down the sink, you’ll have to check out the vehicle’s instructions manual. Before putting down the sink, though, make sure there isn’t any lingering water so that it doesn’t come out, forcing you to do some mopping.
Step 4
All you have to do now before attempting to close your pop-up camper is to take down the beds. Once again, different campers utilize different methods to extend or shrink the beds inside them. We’re going to assume that your camper has a lockable pole above each bed. Simply press the button that unlocks the pole then take it down and just lay it flat on the bed’s mattress.
After removing the pole, grab the headboard of the bed and drag it all the way back until the bed contracts. If your pop-up camper features two beds instead of one, then simply repeat the same process for the other bed. If the above-detailed process doesn’t apply to your camper, you need to check out the instructions manual to learn exactly how you can take down the beds.
Step 5
The interior of your pop-up camper might be quite different from the interior of other pop-ups, so if there are any parts of your camper that require preparation alongside the beds, sink, door, and so forth, make sure you do all the preparation required before stepping outside and taking down your camper. Taking down the vehicle is easy, it’s what’s inside that gets in the way.
Taking Down Your Pop-Up Camper
Having prepared the interior of your camper, it’s time to step outside and start pushing the sides where the beds reside from the outside, which essentially pushes the mattresses further into the interior of the camper. You want to double-check that everything inside your pop-up camper is in place because all of the following steps will be taking place outside the camper.
Step 1
Now, if there’s any excess canvas hanging out of the camper, try tucking in onto the sides of the camper so that when you bring the vehicle down, the canvas doesn’t get pinched and damaged. Subsequently, you want to make sure the external door to your camper is closed and the step is up. From there, you’re ready to grab your crank in order to bring down your camper.
Step 2
As you’re cranking your camper, make sure you crank it down a tiny bit, tuck it in, crank it down a bit more, tuck it in, and so forth. Don’t try to crank it all the way down then wonder why it’s not going down properly. After cranking the camper all the way down, use the latches on the side of the camper to latch everything up securely. And voila! Your pop-up camper is now closed.
If you continue to have issues cranking your pop up, watch this video:
Final Thoughts
Taking down a pop-up camper isn’t really all that arduous. If you’re having difficulty taking down your camper, you’re plausibly skipping one of the above-mentioned steps, which could possibly result in some sort of malfunction that’s preventing the camper from going down. So, make sure you carry out each step to fulfillment to ensure proper contraction. Happy camping!

